Getting paid might be the best part of running a small business, but it doesn’t happen by magic. Once you’ve advertised your business, found customers, and completed the work to their satisfaction, there’s still one more step left to go before you see the money:
You need to send an invoice.
Every small business owner has a love-hate relationship with invoices. Creating and completing them is no one’s idea of fun, but getting paid afterwards is awesome.
The good news is that you don’t need to pay over the odds for an accountant to do it for you, or pay a regular subscription to an invoice website.
You can create an invoice just using Excel!
Here’s a step by step guide to how to create an invoice in Excel, to make it easier and faster for you to get your money.
2 Ways to Build an Invoice Using Excel
There are 2 options for creating a template using Excel:
1. You can make your own invoice from scratch.
2. You can use an invoice template, which is already formatted for invoices. All you need to do is complete the fields on the template invoice.
Creating your own custom template involves investing extra time and effort in the process, although once you’ve made the template, you won’t have to do it again.
Every time you want to complete an invoice, you’ll just open your custom template and move forward from there.
Using an invoice template is definitely the faster and easier option.
There are hundreds of websites offering free invoice template downloads, making it easy to find the one that’s best suited to your needs.
You can find service invoice templates, travel agent invoice templates, product invoice templates, templates that automatically calculate tax, and more, just with a simple Google search, so there’s no real reason to build your own from scratch.
Creating an invoice in Excel using a template
1. Find an invoice template on Excel
Open up Excel on your computer, and then click on the Menu button in the top left corner of the screen.
Click “New,” and then search for “Invoice” in the search bar.
This takes you to the list of invoice templates that already exist in Microsoft Office Online.
You can pick the one that you like best, then click Download.
As long as your computer is connected to the internet, and your version of Excel is not offline, the invoice you chose will download and then open automatically. Success!
2. Can’t find An Invoice That You Like in Excel? Download an Invoice Template from the Internet
If you don’t like any of the Microsoft Office Online templates, you can browse the internet for one that takes your fancy.
Best news: Vcita has gathered a package of 10 invoice templates you can download for free for Excel and Word.
Follow the on-screen instructions to download your chosen template, and save it to your computer.
Now go back to Excel, click the Menu button in the top left corner of the screen, and then click “Open.”
Find the invoice template that you downloaded, select that file, and click “Open,” or double click on the file itself, to open it.
3. Customize your invoice template
The invoice template that you downloaded is all ready for you to enter your details, so work your way through the fields, completing all the information about your company.
It’s not yet time to complete the actual invoice, so hold your horses. You just want to fill in the information that’s going to be the same for every invoice, like your company name, your logo, and your company contact details.
You should also make any changes that you want to make to the text of the invoice, for example, if you want to change the payment terms to “on receipt of invoice,” or if you want to add your bank details so that your customers can make a direct bank transfer.
You don’t want to have to enter all this information again every time that you write an invoice, so once you’re done with this step, save the template again. Give it a name that you can easily remember, like “Small Biz Plumbers’ Invoice Template.”
4. Add customer details
If you have repeat customers who you bill every month, it’s worth it to save a separate invoice template for each one. Complete the fields like:
- Name of your contact
- Name of the customer’s company
- Customer contact details
Now save the template with a new name, so that you can keep a separate template for every customer. To do this, click on the Menu button in the top left again. Select “Save as,” then choose which format to save it in. It’s best to keep it simple and save it as an Excel workbook. Enter a name for this file, then click “Save.”
5. Complete your invoice
Now it’s time to fill out the actual invoice! Get excited, you’re close to getting paid.
First, complete the invoice details. These include:
- The invoice number. Begin with a number like 001, and then make sure that each invoice you send has the correct number at the top.
- The date. This is the date on which you are completing the invoice, not the date when you did the work.
Next, you need to fill in the details about the products or services that you’re billing for.
For example, imagine you’re running a plumbing business, and you’re invoicing a customer for fixing their blocked bathroom sink. You need to enter your callout fee, your hourly rate, and also the cost of any parts that you used to fix the sink.
If you charge VAT or other tax, you’ll need to enter the tax rate, too. You might also need to enter an extra fee for shipping and handling, or offer a discount to a loyal customer. The right invoice template has preformatted fields that make it easy to include these factors.
The beauty of using Excel is that it can calculate all the total for you. So if you enter your hourly rate, and then the number of hours you worked, Excel will automatically input the total cost of those hours, without you having to get out your calculator. It also works out the amount of tax to include in your bill, and adds it to your invoice automatically.
6. Save and print your invoice
The final step is to save and print your invoice. Make sure to use “Save as” in the Menu when you save your invoice, so that you don’t accidentally overwrite your invoice template.
When you save it, give it a file name like “Customer X invoice 001,” so that you can keep track of which number invoice you’re up to without having to open up the files.
You might want to print your invoice, sign it by hand, and then mail it to your customer. Alternatively, you can sign it online using a virtual signature tool, and then email it to your customer, or send it through an online bookkeeping service.
Either way, your money’s on its way!
Tired of Manually Processing Your Invoices? There’s a Better Way to Do It
Creating, editing, and keeping track of invoices is a time sucker that is chipping away at your real business goals. But it doesn’t have to be.
Today, there are many user-friendly, affordable tools that can help you manage your invoices and get them paid as quickly and painlessly as possible.
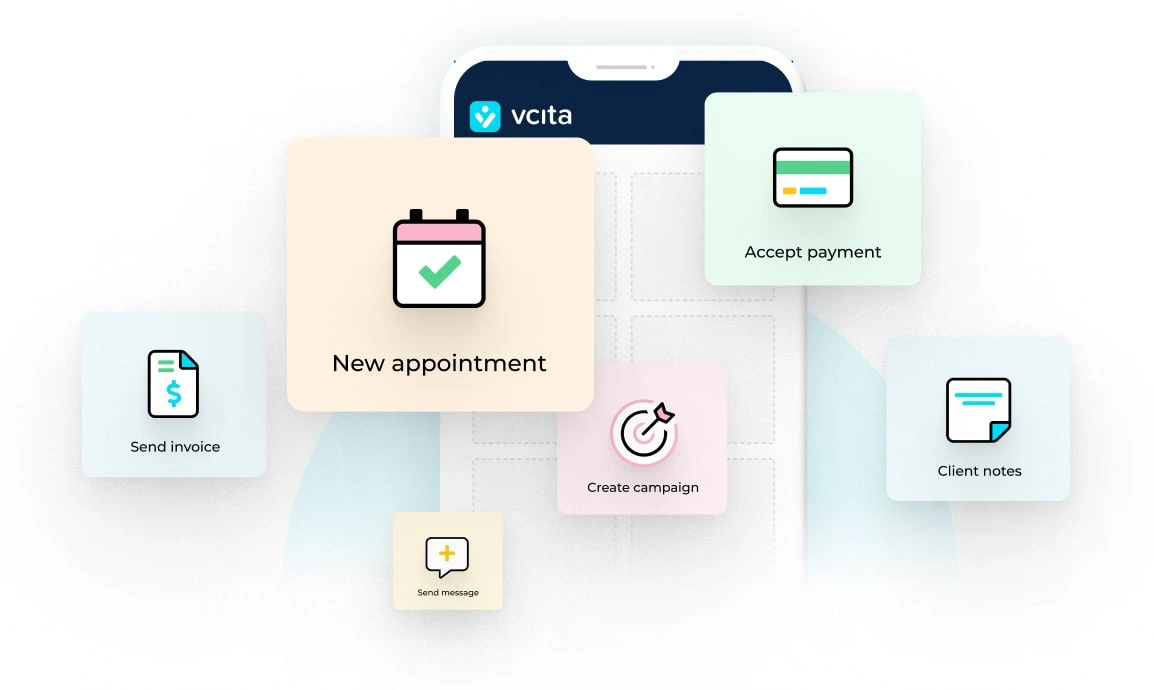
vcita, for example, is a simple billing and invoicing app, tailored for busy service professionals who run appointment-based businesses.
Features include green, actionable invoices that clients can pay instantly, full payment tracking, and friendly, automated reminders to help ditzy clients pay on time.
The app is a favorite with small business owners (see reviews) and offers a free 14-day trial period where you can explore every feature.


